Primary interest in the topic arose due to the lack of fuses for 200 mA, it is supposed to be used by the manufacturer in the MASTESN multimeter. I tried to put on 160 mA, but nothing good of this venture came out - "burn" almost after each measurement. Put 250 mA (so far without excesses). And since to achieve the goal to go with the share of excitement, and, besides, I am not alien to finding the exit from the difficult situations "by the method of tyk", then changing the burnt fuses are not so rarely changing. My next voyage in the field of trading in electronic components, this time about the fuses by 0.5 and 1 ampere, disappointed again. The benefit that radio amateurs have no habit, throwing out something (there is only to pick up and extract in any available way) so there are already a certain amount of disturbing fuses.
Repair the fuse or as they spoke in the former times to "put a bube", as I seemed initially, the case is completely not cunning. On this occasion on the Internet, the instructions are abuse. Total affairs to find suitable wires, and the rest of the "Case of Technology".

True, where you can find the necessary wire with a diameter of 3 microns (0.03 mm) information was not.
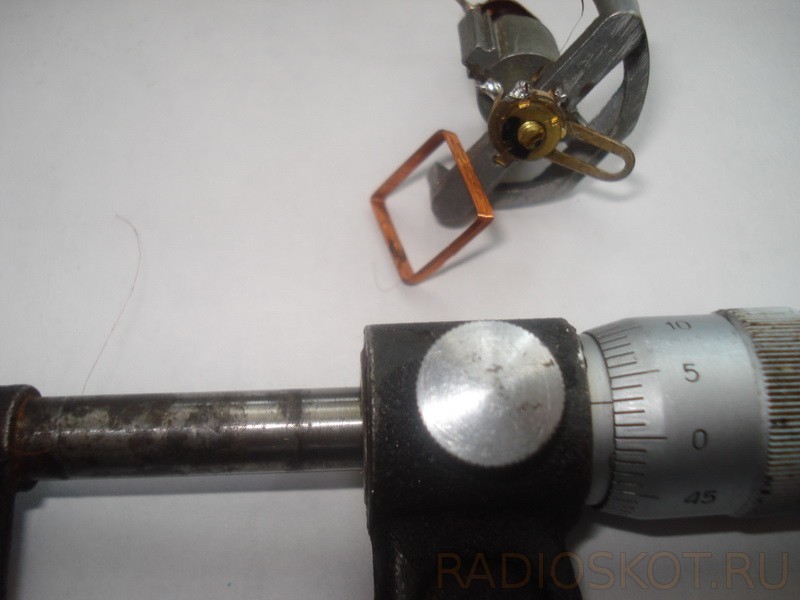
However, it was lucky, and the wire with a diameter of 0.03 mm was detected in the coil of the frame of the injective recovery of the measuring head. Where he was taken from the use of a powerful watch magnifier, acetone and some share of patience.
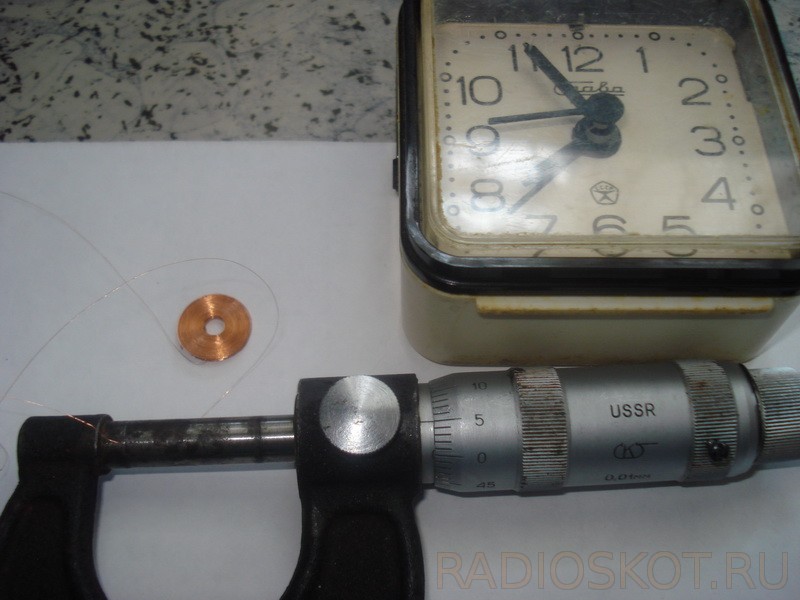
The wire with a diameter of 0.05 mm was found on the board of the electronic-mechanical alarm clock "Glory". There were no problems here, it was worth only to dip in acetone, and the wire from the coil began to unwind himself. After communicating with a wire with a diameter of 0.03 mm, this was already like "rope".
The next step was the opening of the fuses. This became possible only after heating the metal caps by a soldering iron. Now, wrapped in practical experience, I know that only one of them needs to shoot. The next step in the end of the cap, with the help of a well-heated soldering iron with a subtle stale, was released from the tin hole, through which the wire performs the function of the fuse is directly skipped.
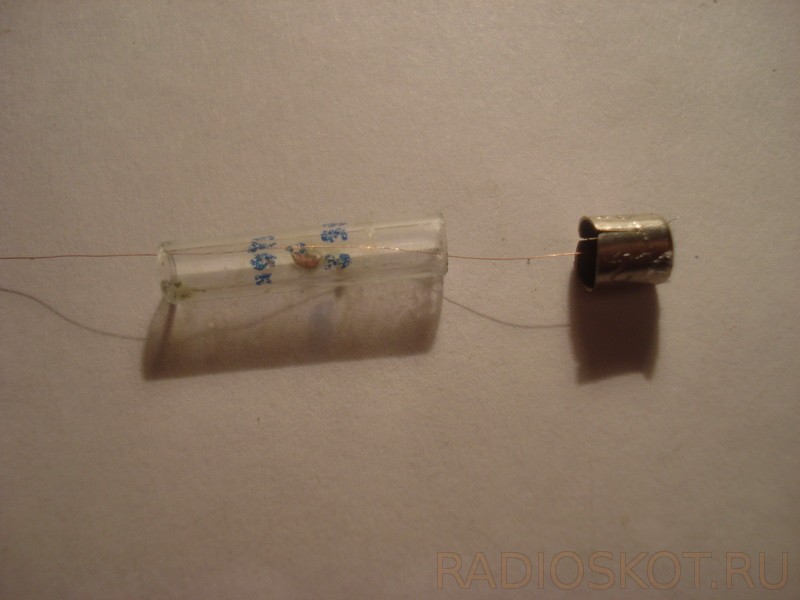
First repair operation. The wire of the desired diameter is long equal to the double length of the repaired fuse is passed through the hole in the first cap, the glass case is seated. With an indispensable pre-removal of lacquer isolation from the edge (if left after acetone).

The second action is the setting of the cap on the glass case with the help of glue (more convenient to the brand BF-6).
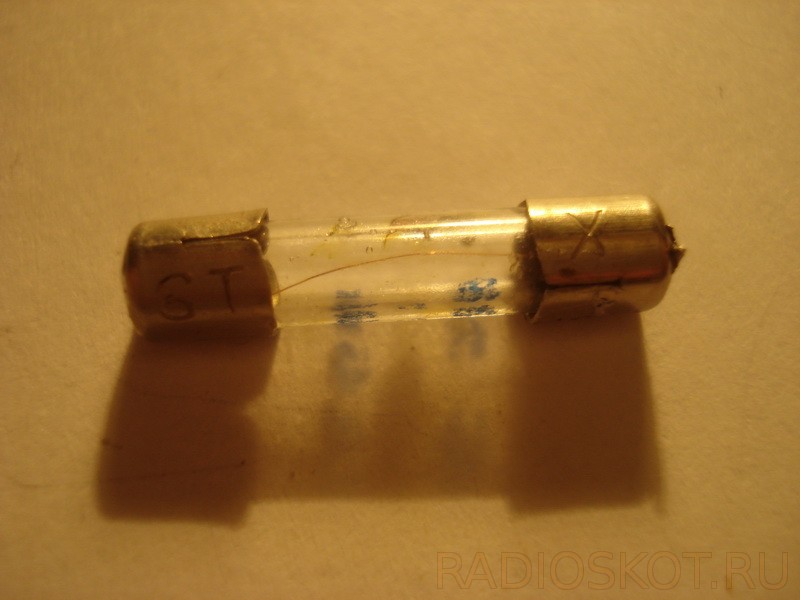
The final operation, transmitting the wire into the opening of the second cap and also a soldering with subsequent adhesive. Immediately after the soldering, a control transcel control is required by a multimeter.
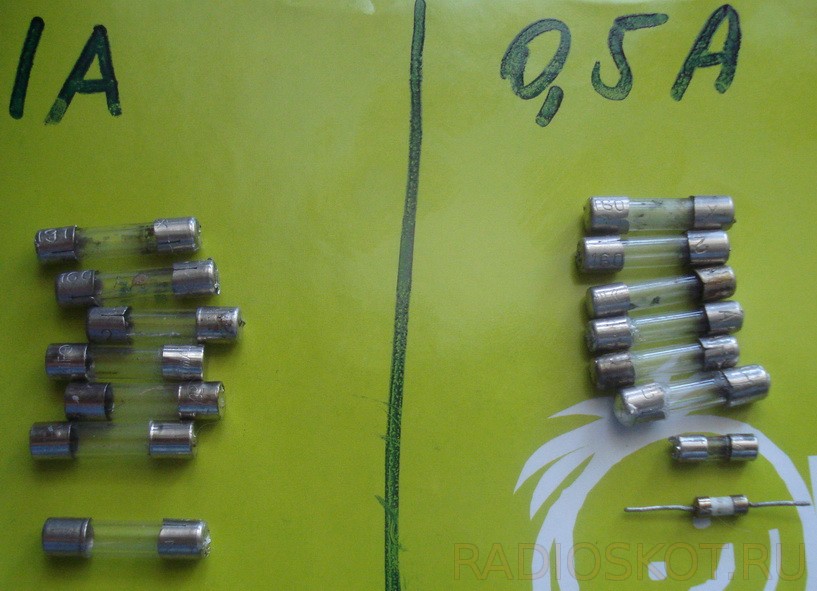
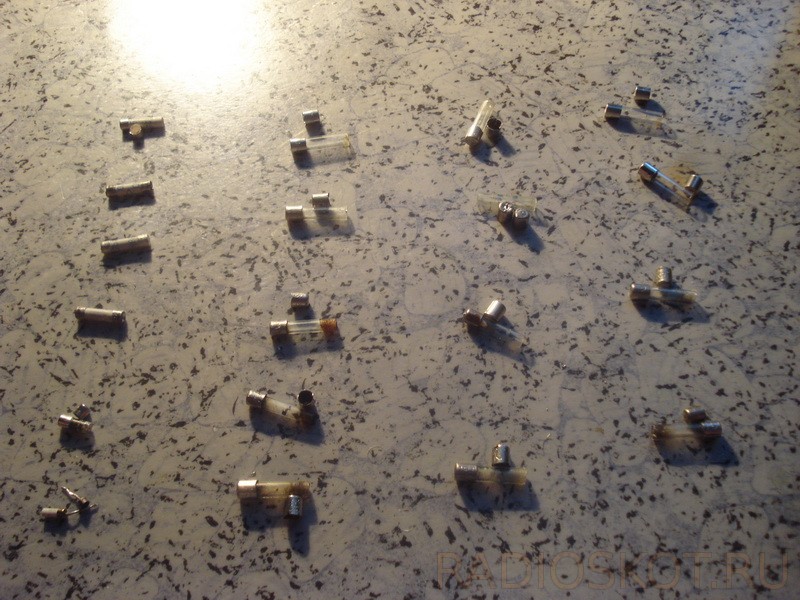
After trimming the wires sticking outside the outside - the fuses can be decomposed ready for use of the product with even rows, but so that in no case they are not confused, and admire the creation of their hands. Especially pleased that the miniature copies managed to repair. Sometimes these are very necessary.
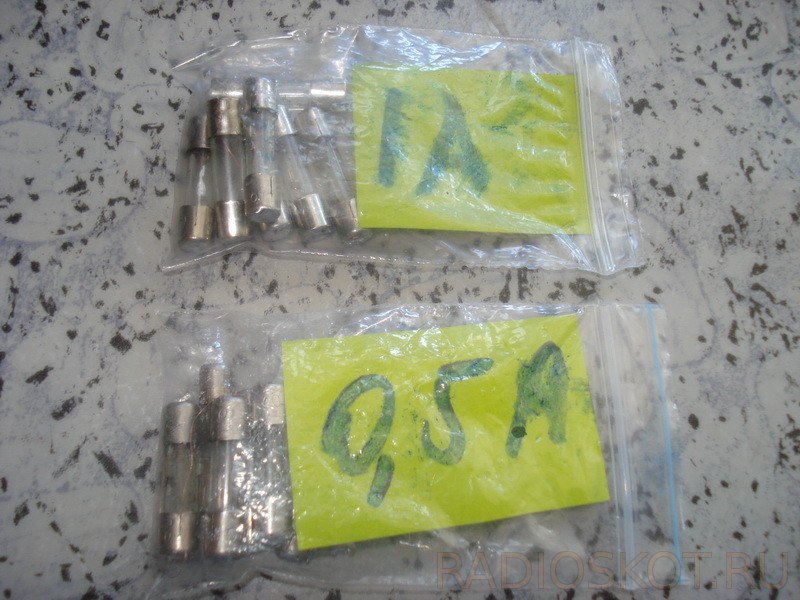
And the last action - with metal caps, now for good fuses, the previous marking was removed with the help of the leg (now I know what to do it is much more convenient at the very beginning of repair). Everything is laid out over bags and ready to use.
Epilogue: In case of extreme need to repair fuses, this is real, even with a nominal value of 0.5 A. The presence of a micrometer is necessary.
By similar strategy, you can repair both automotive fuses (fuses) and many others. Imagined Tula "Lefthest" Babay..
Discuss a fuse repair article