Modern car is not only the metal parts assembled in the right order, but also a mountain plastic: bumpers, spoilers, moldings, outer mirrors, and so on.
What you need to know for painting plastic parts of the car with your own hands?
And so that their untidy appearance did not inject the driver and did not scare off his passengers, they will have to learn how to paint plastic body parts with their own hands. Perhaps someone already mentally painted the picture, as he easily takes the spray and twenty minutes in order. But it was not there! The subtleties of this simple work accommodate just in one article that it is better to read to the end.
Like all other plastics, plastic possesses some properties inherent only to him, and therefore the motorist is worth at least a little understand the materials that went to the car. Almost all the details are made from different types of plastics. Usually all plastics used for internal and external parts of the machines must be primarily durable and secure. They are divided into 2 types: those that require primer and do not need it at all.
Usually you have to choose one of the following plastic repair methods:
1. buoyancy check
Having lowered the plastic into the water, see if it drowns or not. If the part plunged into the water, then the extra hassle can be avoided. If it floats, then you must first apply soil for plastic, and only then - acrylic soil.

2. Burning
Calm a small piece of plastic from the detail you are going to repair. See so that it does not turn out to be dirt, paint or mold lubrication. Google plastics. If it burns and smoke, then the material is not necessary. If the flame rises pure (like a candle), then in front of the main layer of primer should be applied to the plastic.
Painting a new plastic car detail do it yourself
If you have acquired a new plastic for a body kit or a bumper, then you probably want it to fit almost tone to the tone for your car's color. That's what you have to do:
- Degrease the detail;
- Apply soil on plastic;
- Apply acrylic soil;
- Polish the last layer;
- Apply a pigment or "base";
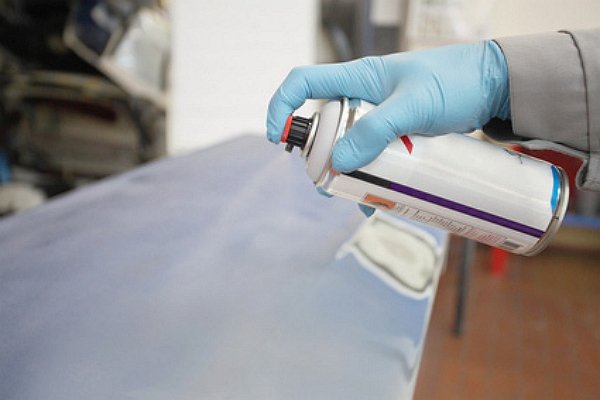
- Apply varnish.
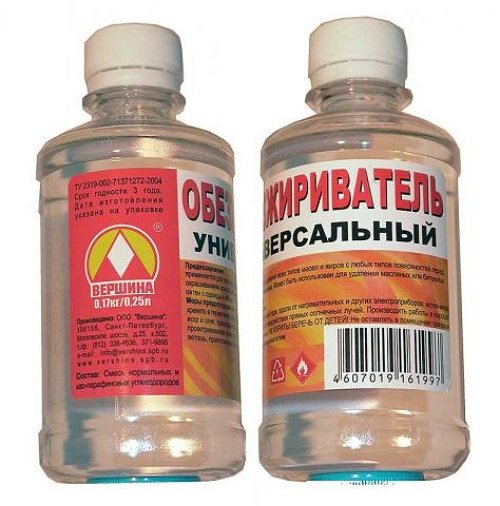
If your plastic part does not require additional primer, then first degrease it, the antsilicone proteishes. After that, apply adhesive risk for a two-component acrylic soil abrasive 240 and higher and thoroughly loaded.
Push the dried soil with abrasive 320 (under a simple enamel), and after - "under metallic" abrasive 450 or 500. Adding soil and plastic to the paint, or "Elastifier", as it is called, paint the part (percentage of components. Look at the bottle). "Elastifier" will help the paint not sweeping even with small shocks of the car.
In the case when the item must be primed up with a special substance for plastic, do not forget very, very carefully clean the surface from factory lubricants used for molds.
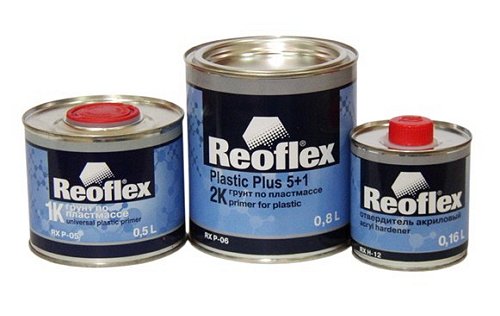
Next, do the same actions that are described by two paragraphs above, only before using acrylic two-component soil, apply soil on plastic. It is usually one single-component and almost transparent. It dries very quickly, but does not like "busting": with abundant application, it will definitely give her leather. It is better to apply 2 thin layers by waiting for each of them. It is not worth grinding such a soil. But as a consumable material can be used and soil.
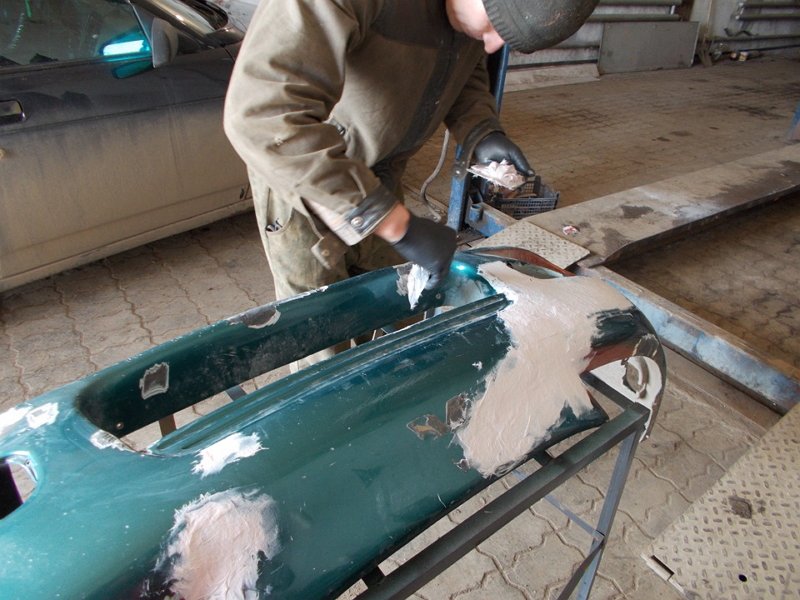
Almost all the work on the preparation and painting of plastic are the same and not much different from: It is necessary to degrease the surface, stick up to the alignment and stall. A special putty for plastics is expensive, but you can easily do and conventional polyester two-component putty.