Over time, the upholstery of any car loses its attractiveness: scratching, stains will appear, the color fades. It is possible to solve this problem in only one way. You can make the last in a special automotive studio, but much cheaper and more interesting to carry out the car's interior with your own hands. How? Tell this article.
Instructions on the drawing of the car's cabin with their own hands.
1. Select the material for the tank.
The first thing you have to face a newcomer, which decided to drag your "iron friend" salon, is a choice of material, because the market today offers their huge range. However, it is not enough to navigate their preferences, it is important to still take into account the complexity of processing one or another tissue. So, for example, everyone's beloved skin is not the best material for caring the interior of the car with your own hands. And the point here is not even at its cost, but in the fact that it is rather difficult to carefully cover the skin curly and angular surfaces of the neprofessional.
What then to choose?
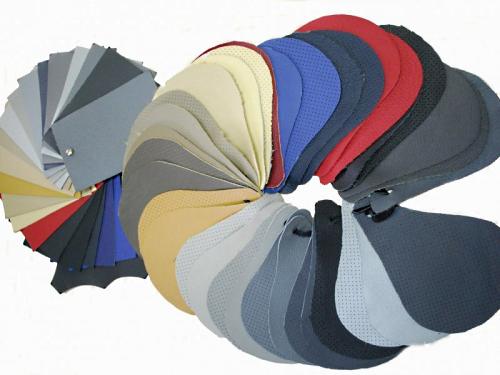
I would advise you Alcantar - a fabric, outwardly similar to Sleep. First, it is durable and very wear-resistant. Secondly, Alcantara has a property evenly stretch in all directions. Thirdly, with excellent appearance, this material is very easy to maintain. Well, and, of course, it is impossible not to say about the rich color of Alcantara color.
2. Prepare tools.
- Screwdriver and set of keys - you will need to dismantle the existing trim.
- Pilot scissors - with their help we will cut the desired contour in the material.
- Hairdryer - help remove folds on the material.
- Glue, preferably the one that is intended for noise insulation of the cabin.
3. We directly carry out the car's interior with your own hands.
In order to perform a relief of the cabin machine as high quality and beautifully, it is necessary to carry out it in conditional "zones": chairs, torpedo, doors, armrest, ceiling.
Hauling car chairs with your own hands.
Chairs - perhaps the easiest elements in the drawing. You can update them in two ways: the first is just to purchase the suitable on the fabric, texture and color covers, and the second is to completely drag the seats, that is, by dismantling the old trim, replace it with a new one.
The first option in the comments does not need - even a schoolboy will cope with him, but about the second we will talk a little more detailed.
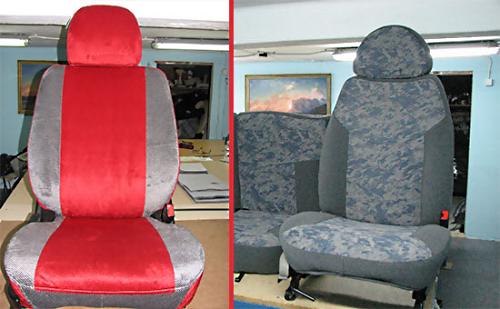
So, in order to change the trim on the chairs, their first things should be removed from the cabin. Then we do as follows.
- We take one of the chairs and subscribe to the marker every part of his cover with the planned color.
- Pulling metal clips on the back of the seat, remove this marked regular cover from the chair.
- Space it into composite elements that lay on the wrong one of the new material, we press the gel handle on the contour.
By the way, if Alcantara is still used for the new finish, do not forget to track the matching of the pile direction for each piece, otherwise get the inconsistency of the shades.
- Cut with scissors our billets and enhance them with a 5-millimeter foam rubber. To do this, we apply a special glue in a spray (not a brush, otherwise the foam on the fitting will be shrinking and returns to its original position!) On the foam rubber and apply, slightly pressing, to it each of the elements.
- We sew all elements with a sewing machine, carefully combining their edges. One case is ready. Soak it on the front side, we put and put on the chair, starting with the back. Now we repeat all the above actions until we get a complete set.
Tip: Two front armchairs in the machine are the same, so on the patterns of one of them can be sewn 2 new covers at once.
Video on the drawing of the car's seats do it yourself
Hauling torpedo car do it yourself.
Torpedo is the most difficult element in the cabin not only in its execution, but also on the mount, therefore, without having an appropriate experience (in order not to damage the attachments and wires of electronics), it is not worth noting him. With this task it is better to turn to professionals.
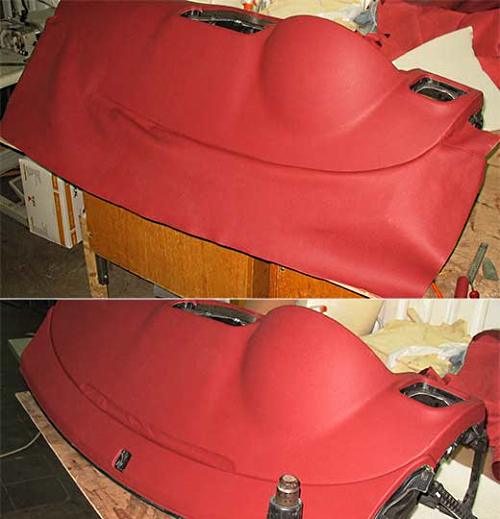
When the torpedo is dismantled and removed from the cabin, proceed directly to the drawing.
- Degrease the surface of each element with purified gasoline. Let's give the first to dry out a bit.
- Sand the places where the material will be located using coarse sandpaper. The dust formed at the same time is subsequently sweeping the brush.
- We note on the Torpedo places where the seams will be located - their number depends on the shape of the torpedo, the number of irregularities and bends on it.
- With the help of rubber glue, fliesline is glued to the placed element.
- We put the finished fliesline pattern on the material and we carry out it with a resister of 10 mm (for seams), pressing it with iron and weights with high viscosity.
- Carved loskutka put on the panel, check the correspondence of forms and sizes, sew them.
- From the involving side of the crosslied cover, we cut all the exposed material in such a way as not to touch the threads, we wake the glue, we wait when it snacks a little, and stretch the cover on the torpedo.
- We ride the final stage along the entire surface of the cocked torpedo roller and leave this part for a day to completely grasp surfaces.
Video on the drawing torpedo of the car do it yourself
Towing the car doors with your own hands.
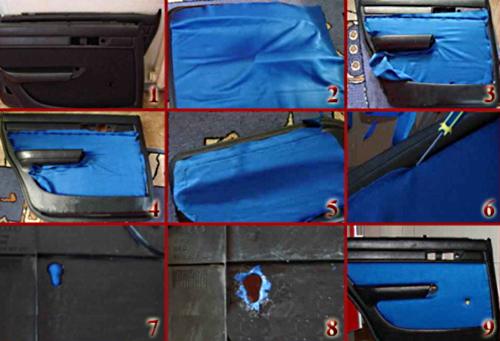
The process of drying the doors is much easier to the torpedoes, so it does not take you a lot of time.
- Remove the trim from the door and clean them from dirt and garbage.
- We apply the material for the new sheathing to the door and supply it (its offline) of its contour gel handle.
- Cut out, leaving the allowance and not forgetting to make cuts under the door handle and the buttons (handle) of the window switching.
- The edges of the finished pattern we wash the glue and glue the element to the door.
Video on the drawing of the doors of the car do it yourself (part 1)
Hauling car armrest with your own hands.
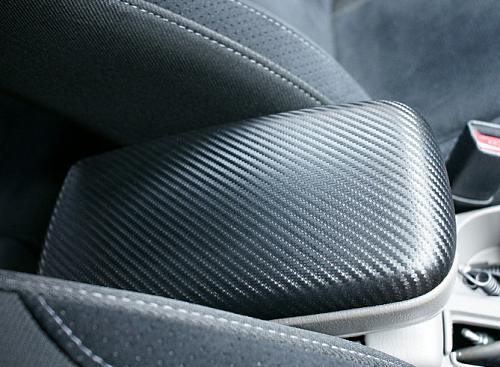
Hauling the armrest of the machine with your own hands is as follows:
- interior element dismantle;
- we make it pattern on paper;
- we apply this pattern to the fabric and cut out on it, without forgetting to leave the bending allowances;
- signing one edge, tighten the material and sample it around the perimeter.
Video on the drawing of the armrest of the car do it yourself
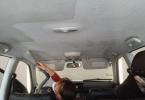
Hauling car ceiling with your own hands.
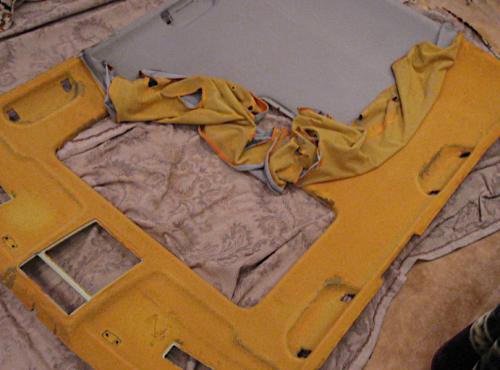
The last stage of the car of the car's interior with their own hands is the replacement of the ceiling.
- We dismantle all the ceiling items: backlight lamps, handles, racks, etc.
- We remove the old trim, and in the case of the presence of glue residues on the ceiling - we remove it using a conventional solvent.
- Sand the surface of the ceiling fine-grained emery paper.
- Cut out the material of the desired form by attaching it to it old trim, and then glue it to the ceiling on glue, ranging from the center and moving to the side with a step, not more than 12 cm. Do not forget to pay particular attention to sunscreen visors.
- We perform the installation of the removed items in the reverse order.
Video on the car ceiling with your own hands